
A buyer tests an electric planer on one board, sees a rough stripe and concludes the model is underpowered. Another operator uses the same tool with a fresh blade, shallower depth and steadier feed and gets a clean surface. The difference may be technique, blade condition, grain, wood moisture or machine setup. To judge a planer fairly, a distributor needs a repeatable surface-finish trial that controls those variables instead of treating one dramatic pass as proof of quality.
This guide covers sample evaluation and product information, not a universal operating recipe. Follow the model's manual and safe woodworking practice. Makita's power-planer manual describes placement of the front base and model-specific planing technique; a different tool can use another blade or depth arrangement.
Define an acceptable surface for the job
A door edge that will later be painted, a visible hardwood face and a rough framing board do not need identical finish criteria. Before testing samples, state the wood species or board type, initial condition, target removal and whether sanding or another finishing step is expected. A product page should not imply a mirror finish on every timber from one pass.
Specify the target user and workflow. A carpenter might take several controlled passes; an occasional user may expect a simple depth setting and clear handling instructions. A planer that performs well only when an expert compensates for an awkward base may not suit a beginner-facing retail range. A trade product can be more demanding, but its positioning must be honest.
The electric planer depth-setting guide addresses repeatable material removal. This article focuses on how feed pace and the condition of the cutting system affect the visible surface.
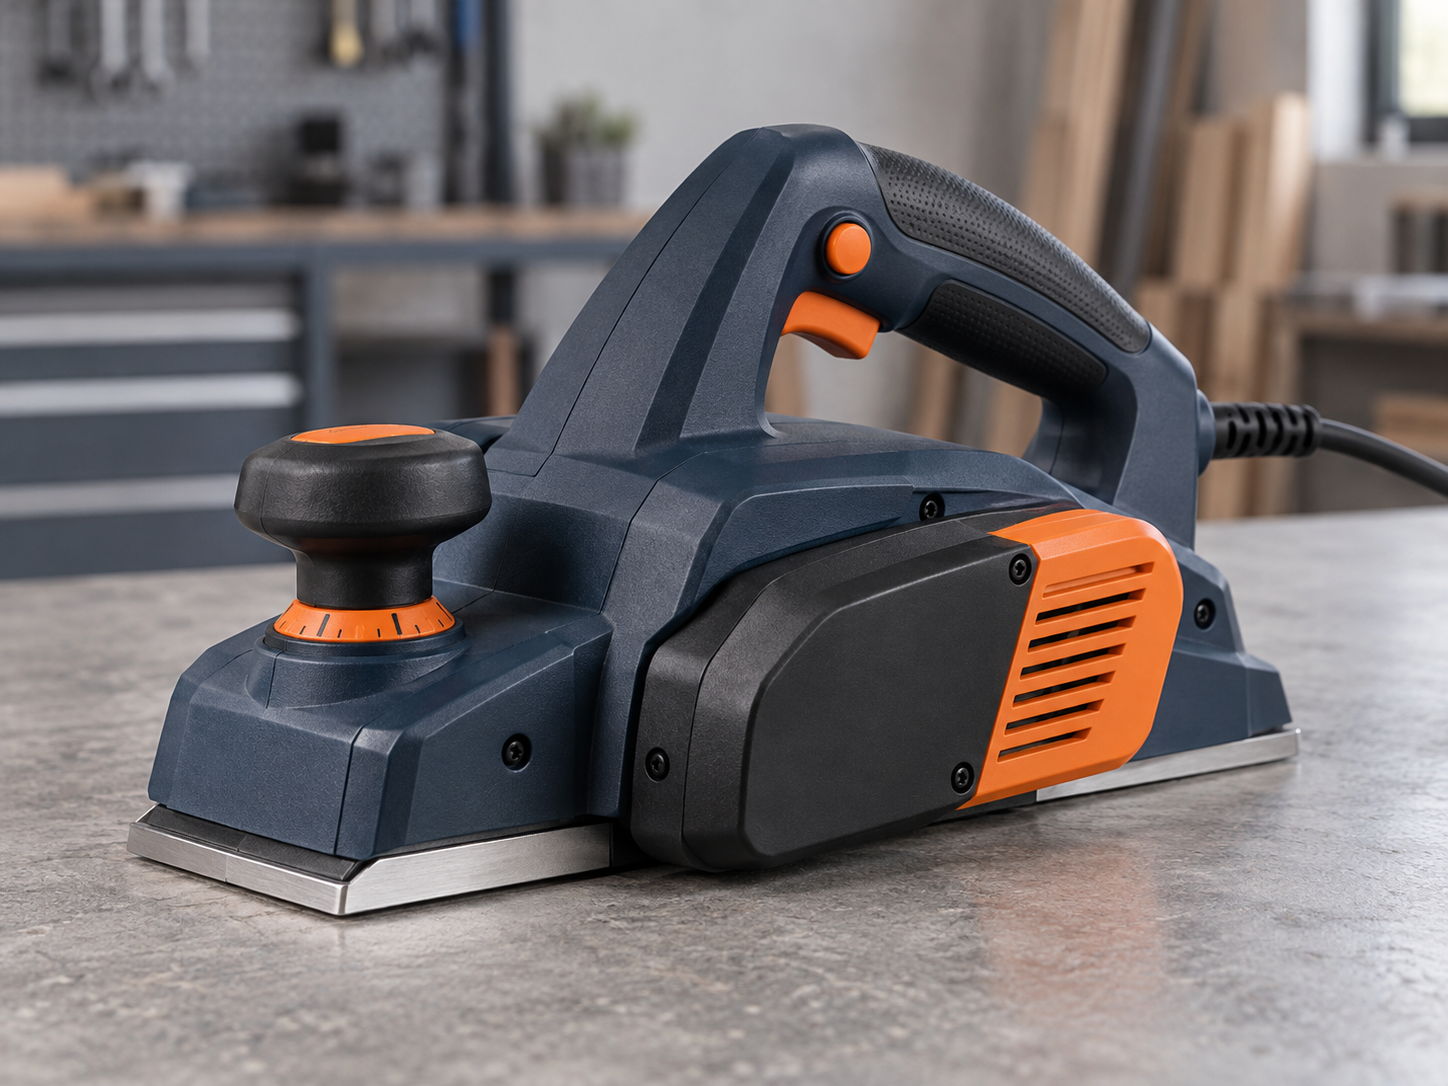
Caption: Compare surfaces only after depth, blade and timber conditions are recorded.
Understand why feed changes the result
At a given cutter speed, moving the planer faster changes how the blades meet the wood along the travel direction. The resulting surface can show more pronounced scallops or marks, depending on cutter design and depth. Moving too slowly is not automatically better; it can increase heat, burnishing or uneven pressure in some conditions. The appropriate pace depends on the exact tool, cut depth, species and blade condition.
The operator should maintain stable support on the board and follow the manual's start and exit technique. Rocking the tool or shifting pressure abruptly can create a step that resembles a machine geometry problem. If the workpiece is poorly secured, vibration and movement can produce chatter even with a good planer. Record workholding and board support as part of the trial.
Wood grain matters. Planing against difficult grain can tear fibers. A shallow pass, changed direction or different blade may improve the result, but no one technique guarantees a perfect finish for every board. A buyer should distinguish grain-related tear-out from a dull blade or mis-set cutter. The grain-direction and tear-out guide explores that material effect.
Prepare matched test boards
Choose several boards from the same batch where practical. Mark direction, moisture context, face condition and the region to be cut. Use a straight, stable support and a consistent depth setting. Install the approved production-intent blade set and document its prior use. A sample trial with one new premium blade and one worn standard blade would not be a fair tool comparison.
Run a reference pass at a controlled pace, then change only one variable at a time: shallower depth, different feed pace or a fresh approved blade. This shows whether the tool has a robust working range or only a narrow sweet spot. Do not push beyond the maker's allowed depth or force the tool to complete a trial after abnormal behavior.
Photograph surfaces under consistent side light and note measurable features where relevant: ridge height, local steps, tear-out patches or across-width variation. A touch test is subjective; it can complement, but not replace, a record. If the application demands a particular tolerance, agree a suitable measurement method before sample approval.
Separate blade condition from tool condition
Inspect blades only with the tool isolated and by the manufacturer's method. Dull, chipped or incorrectly installed blades can leave lines and require greater force. A supplier should identify the blade part and replacement route in the kit. The blade replacement kit guide explains why after-sales access matters.
If the finish improves with a verified fresh blade, investigate the original blade's quality and use history. If the same defect persists across suitable fresh blades, examine base and cutter setup. The sole-alignment article covers that geometry. Avoid adjusting the tool and changing the board simultaneously; the result would be hard to interpret.
Blade material choices can affect durability and cost, but the buyer should test the exact specified blade. “Carbide” does not automatically mean a better finish in every wood species or cutter design. Match the accessory to the product position and local replacement market.
Mid-article sourcing CTA: Comparing planer samples for a woodworking range? Send the timber, target cut depth and finish requirement for a controlled sample-test discussion.
Evaluate the whole task, not one pass
A customer typically makes several passes, checks fit and sometimes changes depth. Test that sequence. Does the depth control return to a known setting? Can the operator maintain a consistent line across the board? Are chips ejected away from the work area or do they build up and obscure the surface? The chip-ejection and dust-collection guide covers extraction as a separate buying decision.
Observe fatigue and cable management. A cord that snags or pulls the tool near the end of a pass can spoil the finish and create a safety issue. A battery or corded tool may have different weight distribution; the finish trial should use the exact saleable configuration. Do not take the battery off a cordless planer or change handle accessories to improve a product photograph if the customer will not use it that way.
For a trade channel, repeat the task after several boards to see whether the cutter and motor continue to behave consistently. A short trial cannot predict lifetime, but it can reveal immediate thermal or chip-blockage issues. Keep the result bounded to the stated boards, pass count and blade condition.
Translate observations into the product listing
State cutting width, depth range, supplied blade and fence where relevant, plus the intended wood applications described by the maker. Avoid promising “glass-smooth finish” without a defined material and process. A clear buyer guide can explain that grain, blade condition and feed affect the result.
Use photographs of real or clearly illustrative sample boards and label them honestly. A studio image of a flawless board should not be represented as a documented factory test. If the seller claims a particular finish outcome, retain the test photos, setup and acceptance rule.
At shipment inspection, verify the correct blades and accessories, depth control, sole condition and a proportionate functional cut. A good sample result is not a substitute for production control. If the blade source changes, repeat the finish trial before releasing new stock.
Handle finish complaints productively
Ask for board species or type, grain direction, cut depth, blade age, number of passes and where the defect appears. A repeated ridge at the same width position can suggest a blade issue; a step only at the exit can suggest handling or support; a rough patch where grain reverses may be a material interaction. These are hypotheses, not final diagnoses from one customer photo.
Group returns by blade lot, tool lot and reported use. If many new units show the same mark under controlled tests, request a factory corrective action. If the issue is largely first-use technique, improve the manual and retail onboarding. The response should be evidence-led, not automatically “replace the tool” or “user error.”
Build a finish panel, not a single beauty shot
A useful buyer panel has several labelled boards or board segments, each with one changed condition. One can show the approved reference pace, another a shallower depth, another a fresh blade after the original has worn. The setup notes should say what stayed constant. This lets a distributor see whether the tool gives a predictable working range rather than one lucky surface under ideal conditions.
Photograph the boards under the same light and camera distance. A high-gloss finish can hide shallow ridges in one image and exaggerate them in another. If the customer cares about fit more than appearance, measure the relevant dimension as well. For door work, consistent removal and absence of exit step may matter more than a showroom-level surface gloss.
Keep the panels for internal review for a reasonable period. Wood can change with humidity, so a retained board is not a permanent calibration standard, but it can help explain a decision alongside photographs and measurements.
Decide whether the blade offer fits the channel
A trade buyer may want readily available reversible blades and a clear change procedure through qualified service. A retail customer may value a complete starter kit and simple explanation of when a blade is dull. If the planer uses a proprietary blade unavailable locally, the initial finish result may not translate into a good long-term offer.
Ask the supplier for blade part number, expected replenishment lead time, kit quantity and compatible model revisions. Do not publish a fixed “cuts X meters before replacement” claim without a defined wood, depth and method. Blade life depends strongly on material and contact with dirt, glue or hidden metal.
The replacement blade itself should be sampled. A new supplier may meet nominal dimensions but produce a different finish or installation experience. Treat the substitution as a new controlled configuration, not a purchasing-only change.
Investigate surface complaints by pattern
A row of repeated marks at regular intervals may suggest blade or cutter behavior; a localized torn patch may be grain; a final step may involve support. A report should identify where the mark appears on the board and whether it repeats on other timber. Ask the customer for stopped-tool photos and the original blade part, but do not request unsafe live filming of a fault.
In a service trial, begin by reproducing the reported condition with a suitable safe board. Change one factor—blade, depth, feed or board—at a time. Record the outcome. If several new tools from one lot show the same defect with verified blades and support, escalate to factory process review. If the problem follows one timber species and grain pattern, revise product guidance rather than redesigning a sound motor.
Translate findings into sales training
Retail staff should be able to explain that a planer removes material in controlled passes, that blade condition affects finish and that timber grain can change the outcome. They should not promise a finished visible surface from one deep pass. The listing can show the approved width and depth ranges while linking to realistic examples of use.
This is not a defensive disclaimer. It helps a customer select the right tool and accessories. A buyer who understands the finish trade-off can compare planers on handling, blade availability and repeatability instead of a single “smoothest” photograph.
The decision in one sentence
A planer should be approved for the timber and finish level its customer actually needs, using the production-intent blade and a repeatable pass. If the result relies on unusual operator compensation, a different accessory or several undocumented setup changes, the buyer should pause before turning the demonstration into a sales claim.
Keep test boards labelled with material, grain direction, blade condition, depth setting and operator. Photographs should include a scale or raking-light view where useful, but should not replace the physical sample. If a blade is replaced between comparisons, record that change; a smoother cut may reflect a fresh edge rather than a better motor or sole.
Frequently asked questions
Will slowing the feed always produce a better planer finish?
No. Feed pace interacts with depth, blade condition, cutter design and wood. A controlled trial should identify a practical working range for the exact model and application.
Can a new planer still leave chatter marks?
Yes. Workpiece movement, difficult grain, an incorrect blade setup or a tool issue can all contribute. Secure the board, inspect the blade and repeat a defined sample before assigning a cause.
Should buyers judge planer quality on one hardwood board?
No. Use representative boards and repeatable conditions. One board can contain reversing grain or defects that make the result unrepresentative of the wider application.
What should be checked before shipment?
Confirm the approved blade and accessories, sole condition, depth-control operation and a sampled cut using the agreed board and method. Keep the record linked to the production lot.
Conclusion
Planer finish is produced by the interaction of tool, blade, timber and operator. A buyer who controls depth, feed, grain and support can compare samples fairly and write honest product information. That is more valuable than a single perfect or disappointing demonstration board.
Send your requirements
Share your target woodworking task, timber and expected finish. ToolViron can discuss a sample review and factory check suited to the intended planer range. Send your requirements to begin.

Caption: Controlled finish observations help connect blade and tool decisions to the saleable product.
Images illustrate product and inspection topics; they are not documentary evidence of a specific ToolViron test or customer project. Confirm the exact model and market requirements before ordering.