
An electric planer can be useful when fitting a wooden door, but the job is not simply “remove a few millimetres.” The installer first identifies where the door binds, checks the hinges and frame, marks the required material removal, secures the work and then makes controlled passes. A retailer choosing a planer for this application should evaluate the tool in that sequence, not just compare motor power.
This article is for B2B buyers planning an installation-oriented planer range. It is not an installation instruction for a particular door or tool. Building materials and local practice vary, and customers should follow the approved product manual and appropriate trade guidance.
Understand the real installation task
A door may rub because of seasonal wood movement, hinge position, a frame issue or flooring change. Planing is appropriate only when material removal is the correct remedy. A buyer should avoid marketing a planer as a fix for every poorly fitting door. The product content can instead show the kinds of controlled edge-trimming tasks it is intended to support.
Ask installers where they work: at a workshop bench before hanging, on site after measuring, or during a renovation with finished floors and occupied rooms. The answer affects tool weight, chip collection, cable or battery format and the importance of a precise shallow setting.
The ToolViron planer page can present the model range, while a door-fitting SKU brief should state the intended material, likely pass width and included accessories.
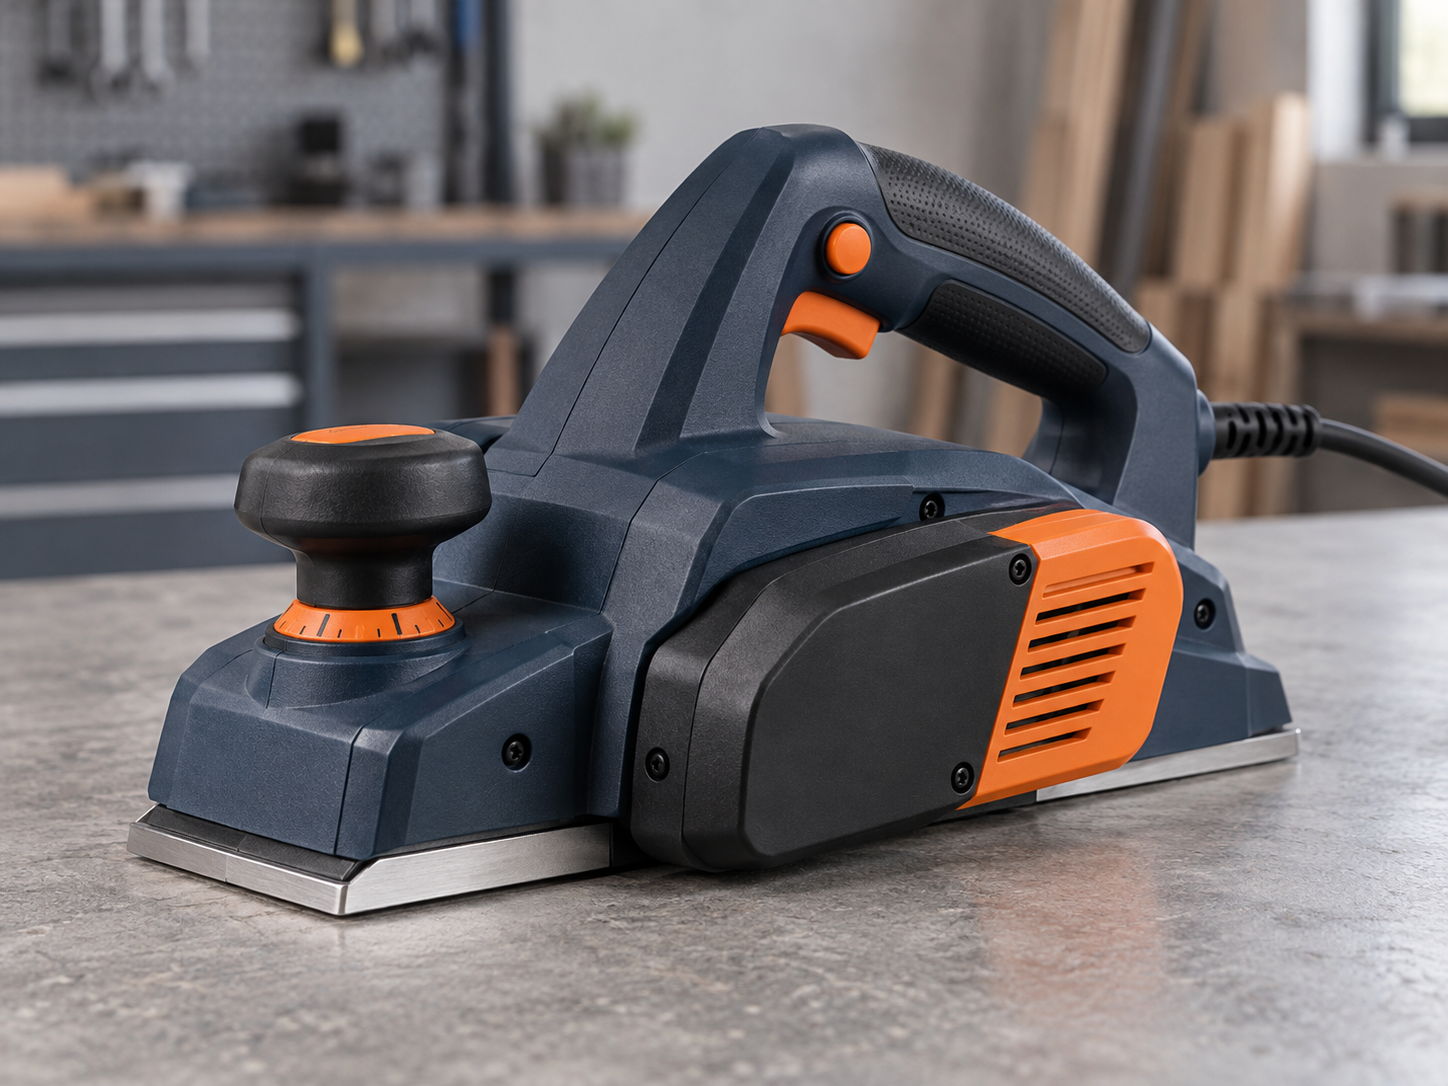
Caption: Door fitting depends on marking, secure support and controlled shallow passes.
Check the workpiece preparation
An installer should identify hardware, fasteners, finishes and any hidden material that could contact the blade. The workpiece needs stable support. A buyer evaluating application photos should show a secured door and a sensible bench position rather than an operator balancing a door while cutting.
The site may require dust and chip containment. A collection bag can help with short passes but should not be described as dust-free. The chip-ejection guide explains what to test when the tool is used near a finished interior. If the retailer bundles a bag or adapter, the box-contents list must say so.
The power arrangement also matters. A corded planer needs a suitable supply and cable route away from the cutting path. A cordless planer needs a specified pack, charger and runtime expectations based on a defined test. Do not put a cordless image on a corded product listing or imply that battery and charger are included when they are not.
Prioritise shallow-setting control
Door fitting often rewards several light passes followed by checking the fit. A planer with an impressive maximum depth but poor shallow control can be frustrating. Inspect the dial feel, shoe alignment and ability to repeat a chosen setting. The depth-setting test guide describes a buyer-level method for comparing samples.
Ask the supplier to demonstrate a representative edge trim on a properly supported door sample. Record the wood, blade, setting and number of passes. Examine the finish and any snipe at the start or end of the cut. Do not treat one attractive video as evidence for all door materials; veneers, engineered cores and finished surfaces require different caution.
If the intended users handle solid-wood doors, ask whether the blade system has a clear replacement path. The HSS-versus-carbide guide explains why blade choice should be linked to materials and after-sales support, not only the initial tool price.
Mid-article sourcing CTA: Building a door-fitting tool range? Send the common door materials and target installer profile for a planer sample brief.
Assess ergonomics in the actual pass
Evaluate grip, balance and control as the planer enters and leaves the door edge. Review the switch position with typical gloves and the effect of a chip bag or extraction hose. If the tool has a parking foot or similar feature, confirm its actual function and instructions rather than assuming all models include it.
The installer may need to work close to a hinge or frame, but the retail page should not imply that a planer can be used safely in every constrained space. Some areas are better handled with a different tool or by removing the door. Product photography should reflect a prepared, accessible workpiece and appropriate protective equipment.
Makita's KP0810 information gives an example of model-specific planer feature descriptions. It is not evidence that another model has the same cut depth, accessories or handling. Use the actual sample and manual for ToolViron claims.
Decide what belongs in the kit
An installation-oriented box might include a fence, chip bag or adapter, spare blades and carrying case, depending on channel and approved compatibility. More items raise the cost and inspection burden. The buyer should choose the few that support the expected first task, then clearly distinguish included from optional parts.
Ask whether the fence is useful for the actual door-edge work; some applications may not use it. Check that a spare blade pack is the correct part for the supplied holder. Include the wrench or tool needed for permitted maintenance if the manual expects it. At shipment inspection, compare the physical kit to the approved pack-out photo.
Support the customer after purchase
Retail support should direct customers to the exact manual for blade changes, depth adjustment, chip clearing and safe operation. Do not provide generic cutting instructions that conflict with the approved model. Identify replacement blades and collection accessories by part number, and keep the listing current if the tool revision changes.
Customer questions about a rough finish may reflect a dull blade, difficult grain, too aggressive a pass or an unsuitable material. A support script can gather the workpiece and setup details before diagnosing a product fault. This helps the importer distinguish application advice from a genuine manufacturing issue.
Compare field usability with a simple scenario
Set up a sample exercise around a marked door edge rather than an unlabelled block of wood. Give the reviewer the approved tool, manual, packed accessories and a secure work support. Ask them to identify the intended removal zone, choose a shallow setting, route the cable or collection hose and complete a controlled pass under supervision. Observe where the product makes the task clear or confusing.
This is not a licence to perform unsupervised work or a promise that every door can be planed. The point is to reveal procurement issues: an awkward bag, an unreadable dial, a fence that interferes with access, a case that does not hold the spare blades, or instructions that omit the actual packed accessory. Document the observations and decide whether to change the tool, kit or copy.
Repeat the setup with a typical customer’s gloves and protective equipment. A grip that feels comfortable in a showroom can change when the user wears gloves and manages a hose. If the target channel is professional installation, invite feedback from a qualified installer while keeping the test conditions controlled.
Bound the application claim
Different doors have different constructions. A solid-wood edge may be suitable for controlled trimming, while veneered, hollow-core, fire-rated or specialist doors may have limits that must be respected. The importer should not promise that one planer can trim every door type. Ask what materials the channel sells and whether the tool's instructions address them; refer customers to the door manufacturer's requirements where necessary.
Product photography should avoid implying an unsafe improvised setup. Show the door secured, the operator appropriately equipped and the tool used on an accessible edge. A caption can explain that the image illustrates a prepared installation task. If the photo is AI-generated, do not present it as documentation of ToolViron's actual factory or a real customer job.
At launch, monitor returns and questions. If many customers ask how to avoid taking too much material off, provide clearer depth-setting information or application guidance. If complaints concern chipped veneer, review whether the product was marketed too broadly for door types it was not tested on.
Specify the blade and finish expectation
An installation buyer should ask what finish is acceptable immediately after planing and what finishing steps the customer normally performs. A painted door edge, visible solid-wood edge and veneered surface create different expectations. The sample review should document whether sanding or refinishing is normally required. A photograph of a clean pass does not mean the installer can skip final fit and finish work.
Inspect the included blade type and the replacement route. A sharp, correctly installed blade matters to a controlled shallow pass. If the factory uses a premium blade for the showroom demonstration but packs a different one, repeat the sample on the retail configuration. The customer judges the item delivered, not the prototype.
Ask whether the door has hardware or fasteners near the proposed cut. Retail guidance can remind users to inspect the workpiece and follow the door manufacturer's limits. Do not suggest planing through unknown materials. The tool's role is controlled material removal after preparation, not diagnosing every cause of a sticking door.
Make the retail demonstration useful
A credible application video could show the prepared workpiece, a marked edge, a shallow setting, a short controlled pass and a fit check. It should use the exact tool and accessories sold in the kit. Avoid editing several passes into one apparently effortless cut or hiding the need for cleanup. A clear explanation can help buyers understand the workflow without pretending the result was achieved instantly.
For an AI-generated image, label it as illustrative if it appears in marketing. It should not stand in for a real ToolViron factory photograph or a documented customer project. If ToolViron later gathers genuine installation photography with permission, that asset can add real experience evidence. Until then, keep article claims grounded in verifiable product characteristics and controlled sample procedures.
Sales staff should be able to explain why a planer may be chosen over a hand tool for a particular workflow, while acknowledging that door construction and local fitting practice matter. An honest answer to “will this work on my door?” begins with the door material and required removal, not a universal yes.
Example: choosing between two installation kits
Imagine a distributor comparing a lightweight planer with a basic chip bag and a heavier model with a fence, case and extraction adapter. The first may suit occasional door-edge adjustments; the second may support a professional installer who carries the tool between sites. The buyer should not decide solely from the number of accessories. Build a first-use scenario and check the complete packed configuration.
For each kit, give a supervised reviewer a marked solid-wood door sample, the supplied manual and the actual accessories. Time is not the only outcome. Observe whether the user can set a shallow depth, keep the cable or hose clear, make a controlled pass and inspect the result. Record chip management, finish and any difficulty locating the required part. The exercise exposes workflow problems that a catalogue comparison cannot.
Then compare replacement blades, case durability, accessory identifiers and the retailer's service model. A professional kit can justify a higher price if it genuinely reduces setup friction and has a stronger support path. An occasional-use kit can be good value if its limits are stated honestly. Neither should claim suitability for every door construction.
Create a realistic product-page checklist
Show the actual planer from multiple angles, including the depth dial, chip outlet and included accessories. State planing width and depth only as confirmed for the model. Identify the blade type and replacement part. Explain whether the collection bag or adapter is included. If the image shows a door, it should be secured and representative of an appropriate material.
Add a short application note: fitting work requires inspection of the door and frame, preparation of the workpiece and several controlled passes as appropriate. Link to the full manual for operation. A web article can help buyers understand selection criteria, but it should not substitute for tool-specific safety instructions or a door manufacturer's guidance.
After launch, monitor whether buyers ask for a missing fence, different collection accessory or extra blades. These signals can guide a second kit variant. Change the bundle only after the new combination is approved and the product images and manual are aligned with what ships.
Frequently asked questions
Can an electric planer fix every door that sticks?
No. First identify the cause. Hinges, frame movement or floor changes may call for a different remedy, and some door constructions are not suitable for casual planing.
Is a deep pass the fastest way to fit a door?
Not necessarily. Controlled light passes with fit checks can reduce the risk of removing too much material. Follow the tool and material guidance.
Should a door-fitting kit include a chip bag?
It can be useful for short site work if the approved model supports it, but it is not a guarantee of dust-free operation.
What should a buyer test before ordering?
Test shallow-setting repeatability, edge finish, handling with the intended collection accessory and the exact packed components on a representative door material.
Conclusion
A door-fitting planer should be judged in the context of a prepared installation task. Buyers who assess setup, shallow depth control, chip management and replacement blades can position the product accurately and avoid overselling a maximum specification.
End-of-article CTA: Request a ToolViron electric-planer sample or catalogue. Tell us which door materials and installation channels you serve so we can discuss a suitable approved configuration.

Caption: Record the blade, setting and accessories used in the approved application sample.
Images illustrate product and inspection topics; they are not documentary evidence of a specific ToolViron test or customer project. Confirm the exact model and market requirements before ordering.