
A drill driver’s clutch helps the user limit applied turning force during screwdriving. The numbered ring is not a universal torque scale: a setting on one model cannot be copied to another as if both delivered the same result. For a B2B buyer, the useful question is whether the selected drill gives customers predictable control in the materials and fasteners they actually use.
This matters in furniture assembly, installation and maintenance, where overtightened screws can damage the workpiece and undertightened screws can leave a fitting loose. A peak torque claim says little about this control. The buyer should evaluate the clutch, speed selection, trigger response, supplied bits and instructions as one product experience.
Describe the fastening job
Start with the screw, material and result. What diameter and length are typical? Is the user assembling a cabinet, attaching hardware to softwood, or fixing a bracket into a pilot hole? Are the fasteners visible after installation? Is there a risk of stripping a screw head or crushing the work surface? These questions reveal how much control and guidance the customer needs.
Distinguish drilling from driving. A drill mode commonly bypasses the clutch limit for making holes, while the numbered settings are intended to help manage screwdriving. The exact operating instructions depend on the model. A buyer who advertises a drill driver for both tasks should check how easily users can move between modes without accidental mis-setting.
For a private-label range, define the target user’s experience level. An installer may quickly adjust settings by feel; a first-time home user may need a clear quick-start diagram and a sensible test procedure. The product information should support the person who opens the box, not only the engineer who approved it.
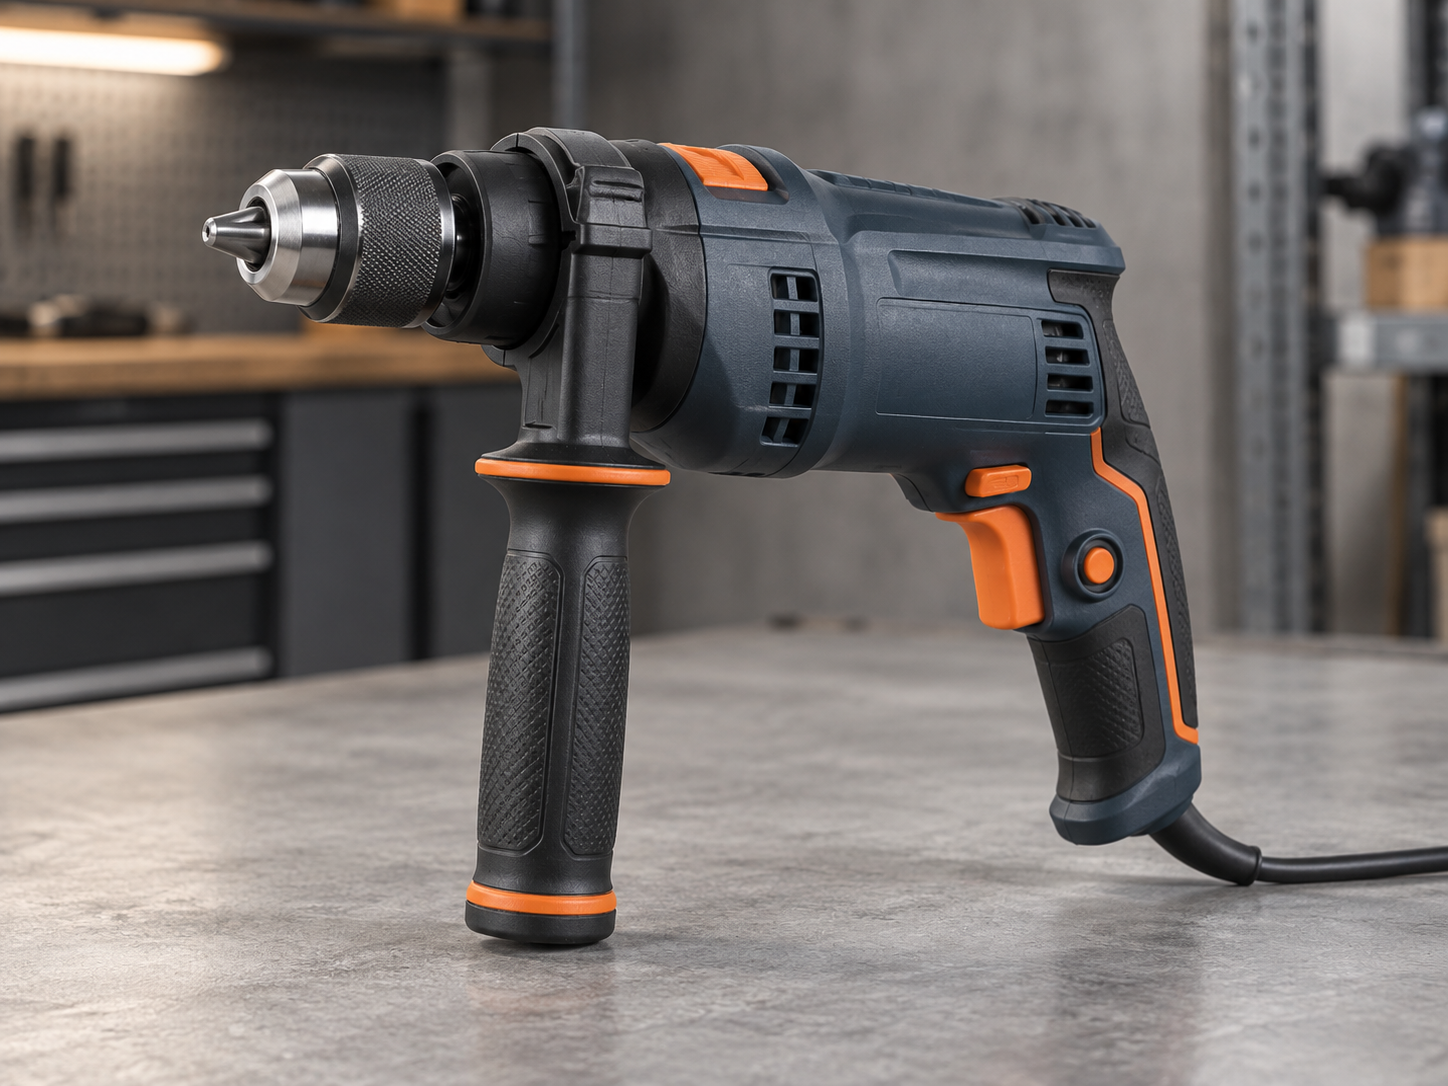
Caption: Clutch control should be reviewed with representative screws and prepared workpieces.
Explain what the numbered clutch does
Bosch's model-specific drill/driver manual illustrates how torque-preselection positions and drilling mode are described for one tool; it is not a specification for every drill. The drill torque and RPM guide explains why headline torque should also be read in application context.
The clutch slips when resistance reaches the selected threshold in the configured tool. Higher numbered settings generally allow more turning effort before slip, but the number is a relative setting, not a directly comparable Newton-metre output across products. Battery state, gear, bit, screw and material can influence the user’s result. The instruction should tell users to start conservatively and adjust on a scrap piece or inconspicuous area.
The buyer should examine how positive the adjustment feels. Can the ring be moved with gloves? Are the numbers visible in ordinary work light? Can the setting drift unintentionally during handling? Does the clutch operate consistently between repeated screws? These are practical sample observations that can affect returns and reviews.
Do not replace an actual test with a claim such as “24 settings.” More settings may offer finer adjustment, but the count alone does not show whether they are useful or consistent. A distributor’s catalog should say what the control helps the user do, with no promise that a setting number fits every material.
Consider pilot holes and bit fit
Screwdriving performance depends on installation preparation. A pilot hole can change the force required and reduce splitting in appropriate woodwork. The correct driver bit should fit the screw head. A worn or poorly matched bit can cam out and damage the fastener even if the clutch works as designed. The buyer’s sample test should control these variables.
If the kit includes driver bits, confirm sizes, material, retention and labeling. A “bit set” is not a full specification. A retailer might include the common profiles its customers use, while a trade distributor may leave bits to a specialist accessory range. In both cases, the listing should make the included items and compatibility clear.
An application card can give a useful first-use sequence: choose a correct bit, prepare the workpiece, start at a low clutch setting, test on scrap, increase gradually and finish with the required fit. It should defer to the product’s actual manual for operation and safety information. The goal is to prevent a customer from treating a large number on the clutch ring as a recommendation.
Test with more than one fastener
Create a sample board reflecting the channel: perhaps a small screw into softwood, a longer screw into a prepared timber joint and a hardware fixing into an engineered board sample. Record screw identity, pilot-hole condition, bit, gear, clutch setting and result. Use fresh bits and comparable materials when comparing two supplier samples.
Look for repeatability. If ten similar fasteners finish at wildly different depths under a consistent setup, investigate the tool, bits or workpiece variation. If one drill offers control but another drives faster, decide which factor matters more for the customer. The useful conclusion is tied to the application rather than a generic “best drill” verdict.
Also test the switch from driving to drilling. Can the operator select the correct mode and gear without confusion? Does the manual explain the difference? A drill driver that works well in a technician’s hands can still be a poor retail offer if first-use instructions are unclear.
Mid-article sourcing CTA: Choosing a drill driver for fastening work? Send the fastener, material and target user so ToolViron can discuss a sample review.
Build an assortment around control needs
An entry-level drill driver can serve household assembly and light installation when its clutch, bit set and instructions match those jobs. A trade-focused model may prioritize broader gear control, handling, service and battery-platform choices. The range should show the difference in application terms, not only in a larger torque number or a longer feature list.
Avoid unnecessary overlap. If two SKUs have nearly identical duty and accessories, a retailer may struggle to explain why both exist. Write a short “best for” statement for each model and test whether a sales colleague can distinguish them without reading a full engineering sheet. That exercise often reveals where the product-positioning work remains incomplete.
If cordless, check the drill with the battery actually included in each kit. The balance and power behavior may change with the pack. If corded, check the plug, cable and expected working location. The customer’s setup determines which configuration is practical.
Specify the user-facing package
The carton and manual should identify the drill mode, clutch ring, gear selector, included bits and any preparation expected before screwdriving. Use diagrams based on the final product, not a previous tool body with a different control layout. If a quick-start card is added, approve it alongside the sample.
The product photograph should not show an extra bit holder, case or battery that is absent from the box. Small presentation mismatches create disproportionate customer frustration because they are discovered immediately during installation preparation. Keep the approved bill of contents visible to marketing and packing teams.
For overseas distribution, consider language and market-specific power arrangements. The importer should confirm any applicable product-information requirements with qualified advisers. A factory can help prepare the requested materials, but the buyer should know what the destination channel expects before artwork is final.
Connect factory testing to the chosen controls
Ask the supplier how it checks the actual configured functions: trigger response, forward and reverse, gear selector, clutch operation, chuck or bit holder, and battery or cable connection. A check should have a clear acceptance condition. “Tested” by itself says little about what was observed or whether a finding was resolved.
During shipment inspection, compare the finished model with the approved sample. Confirm the control layout, visible finish, labels, accessory set, instructions, carton and quantity. If a bit or battery variant changes after sample approval, review the bundle again because the change can affect the customer’s first-use sequence.

Caption: A controlled sample record connects clutch behavior, accessories and packing to the shipped product.
The ToolViron quality page outlines the kinds of checkpoints a buyer can discuss. The buyer should still define model-specific acceptance criteria and any third-party inspection scope before production release.
Learn from customer feedback
After a first order, sort complaints by fastener and material. “The clutch does not work” may describe a setting mismatch, the wrong mode, a worn bit, inconsistent material or a product defect. A support team needs the model, kit variant, bit, screw and setup details to investigate. A simple troubleshooting record can prevent needless replacement and reveal genuine design issues.
Feedback can also improve the range. If home users routinely overtighten screws, the quick-start information may need clearer examples. If installers consistently run out of suitable bits, the accessory offer may need revision. Link changes to an approved product version rather than silently modifying the carton.
Review clutch feel across the useful range
Counting numbered positions does not tell a buyer how distinct they feel or whether customers can use them. Ask reviewers to drive the same screw into a controlled material at several settings, increasing gradually according to the tool instructions. Record the resulting screw depth, cam-out and whether the clutch disengages predictably. The objective is a usable low-to-middle range for common work, not a claim that every number equals a fixed torque value.
Check how easily the collar turns with gloves and whether the markings remain legible under ordinary workshop light. A very light detent can be moved accidentally; an overly stiff one may frustrate users. Test an assembled production-representative sample, because a collar or spring substitution can change the feel without altering the catalogued number of settings.
The user interface should make drill mode and screwdriving mode distinct. A customer who accidentally uses drill mode for a delicate fastener can damage the workpiece. Product photography, packaging and the quick-start information should present the modes accurately without implying that the clutch will prevent all damage. A clutch is a control aid, not a substitute for the correct bit, pilot hole and technique.
Align the range with fastener families
Different sales channels see different fastener sizes and materials. An installer may frequently drive cabinet screws into sheet material; a building-maintenance buyer may need larger wood screws; an electronics assembler may require a different precision tool altogether. Ask retailers for the three most common fastening examples in their market, then test those before defining the product tier.
If a kit includes driver bits, verify their type and fit. A poor bit can cam out and make a good clutch appear unreliable. Likewise, an unsuitable pilot hole can cause excessive resistance. Record these inputs in the sample test so the supplier and importer can understand what a customer will experience with the actual boxed kit.
After-sales feedback can reveal whether users misunderstand the collar or whether the clutch itself varies. Support teams should ask about the material, fastener, bit and selected setting before diagnosing a defect. If many customers report the same issue at low settings, review instructions and production consistency together. Do not solve a systemic product-positioning problem with a vague “operator error” response.
A final comparison before selecting the SKU
Put the shortlisted drills through the same fastening sequence with the exact bits included in each kit. Record the material, pilot-hole preparation, screw size, selected gear and clutch position. Have reviewers note control, bit slip, finish damage and ease of adjusting the collar. The scorecard should explain why the selected model fits the target customer rather than merely naming the one with the most clutch numbers.
If the customer segment changes—from cabinetry installation to mixed property maintenance—repeat the relevant task test. A range can sensibly include a compact precision-focused model and a more general drill-driver, but the website should explain their different purposes. Avoid using one generic “maximum torque” badge as a substitute for that distinction.
Finally, confirm that production and retail kits use the approved collar, bit and manual. A small change to detent feel or driver-bit quality can alter the customer's experience. Keep the comparison sample and sign-off record for shipment checks and later service questions.
A concise retail explanation
The product page can explain that the adjustable clutch helps a user select a suitable fastening response, while the drill mode serves drilling tasks. It should avoid promising that a numbered setting corresponds to a universal torque value or guarantees no surface damage. The customer still needs the correct bit, pilot hole, screw and technique.
Show the collar and mode symbols on the actual sold model. If two drills have different numbers of positions, do not reuse the same annotated image. A short application example—such as testing a setting on scrap material before working on a visible cabinet panel—can be more helpful than a long feature list, provided it matches the approved manual.
For B2B buyers, this clarity reduces mismatch between channel and tool. A distributor can position a control-oriented drill for installation work and a different model for broader drilling, with evidence from representative sample tasks rather than a single headline specification.
Frequently asked questions
Are clutch numbers actual torque values?
Usually they are relative settings on that tool, not a calibrated universal torque scale. Follow the specific model instructions and test on representative material before making a customer claim.
Should a buyer test with pilot holes?
Test under the preparation that customers are expected to use. Record whether a pilot hole was present, along with screw, bit, material and clutch setting, so comparisons are meaningful.
Does more clutch settings mean a better drill driver?
Not necessarily. Useful control depends on how the settings behave, the application, bit fit, trigger response and user understanding. Compare the complete system.
What should a private-label manual explain?
It should identify drill and driving modes, gear and clutch controls, bit fit, appropriate first-use testing, supplied items and the model-specific safety instructions required for the market.
Conclusion
Clutch design is valuable when it helps the customer place fasteners predictably in the intended material. Define the work, test with correct bits and preparation, and make the control sequence clear in the listing and manual. A buyer can then compare drill drivers by useful handling rather than a setting count.
Send your requirements
Share the screw types, materials, user group, target market and preferred kit contents. ToolViron can discuss a drill driver configuration and sample review. Send your requirements to begin.
Images illustrate product and inspection topics; they are not documentary evidence of a specific ToolViron test or customer project. Confirm the exact model and market requirements before ordering.