
An overhead installation task exposes a weakness that a catalogue torque rating cannot show: the operator must support the tool, align the bit and manage reaction force while the arms are raised. A compact drill can help, but “compact” is not an ergonomic specification. Balance with the actual battery, grip size, trigger reach, head length, visibility and the planned duty cycle all affect whether a tool is appropriate for repeated ceiling or upper-wall work.
This guide helps B2B buyers evaluate a drill range for installers, maintenance teams and retail customers. It does not claim a universal safe duration or that one form factor prevents injury. The buyer's job is to select a tool and provide instructions that fit a defined application; the employer and user must still manage the work environment and follow applicable safety rules.
Write the overhead-work brief first
Describe the installation rather than asking for a “lightweight professional drill.” Is the user attaching electrical trunking to a ceiling, mounting shelving to a wall or assembling a cabinet above shoulder height? What substrate, bit size and fastener are typical? Is the tool used for five isolated holes or for a long sequence? Will the user work from a stable platform, and is there enough room for an auxiliary handle if one is required by the tool instructions? These questions determine the relevant sample test.
Include preparatory tasks. A workflow may involve measuring, marking, drilling pilot holes, inserting anchors and driving fasteners. The operator spends time holding the tool in place, changing bits and checking alignment. A tool that drills one hole quickly can still be cumbersome during the full sequence. The buyer should therefore test both the active drilling moment and the transitions around it.
The work location may decide the power platform. A corded drill avoids battery changes but introduces cable routing and power-access questions; a cordless drill provides mobility but adds pack weight and charging needs. The corded versus cordless drill guide addresses that wider choice. Here the focus is the configured tool in the operator's hand.
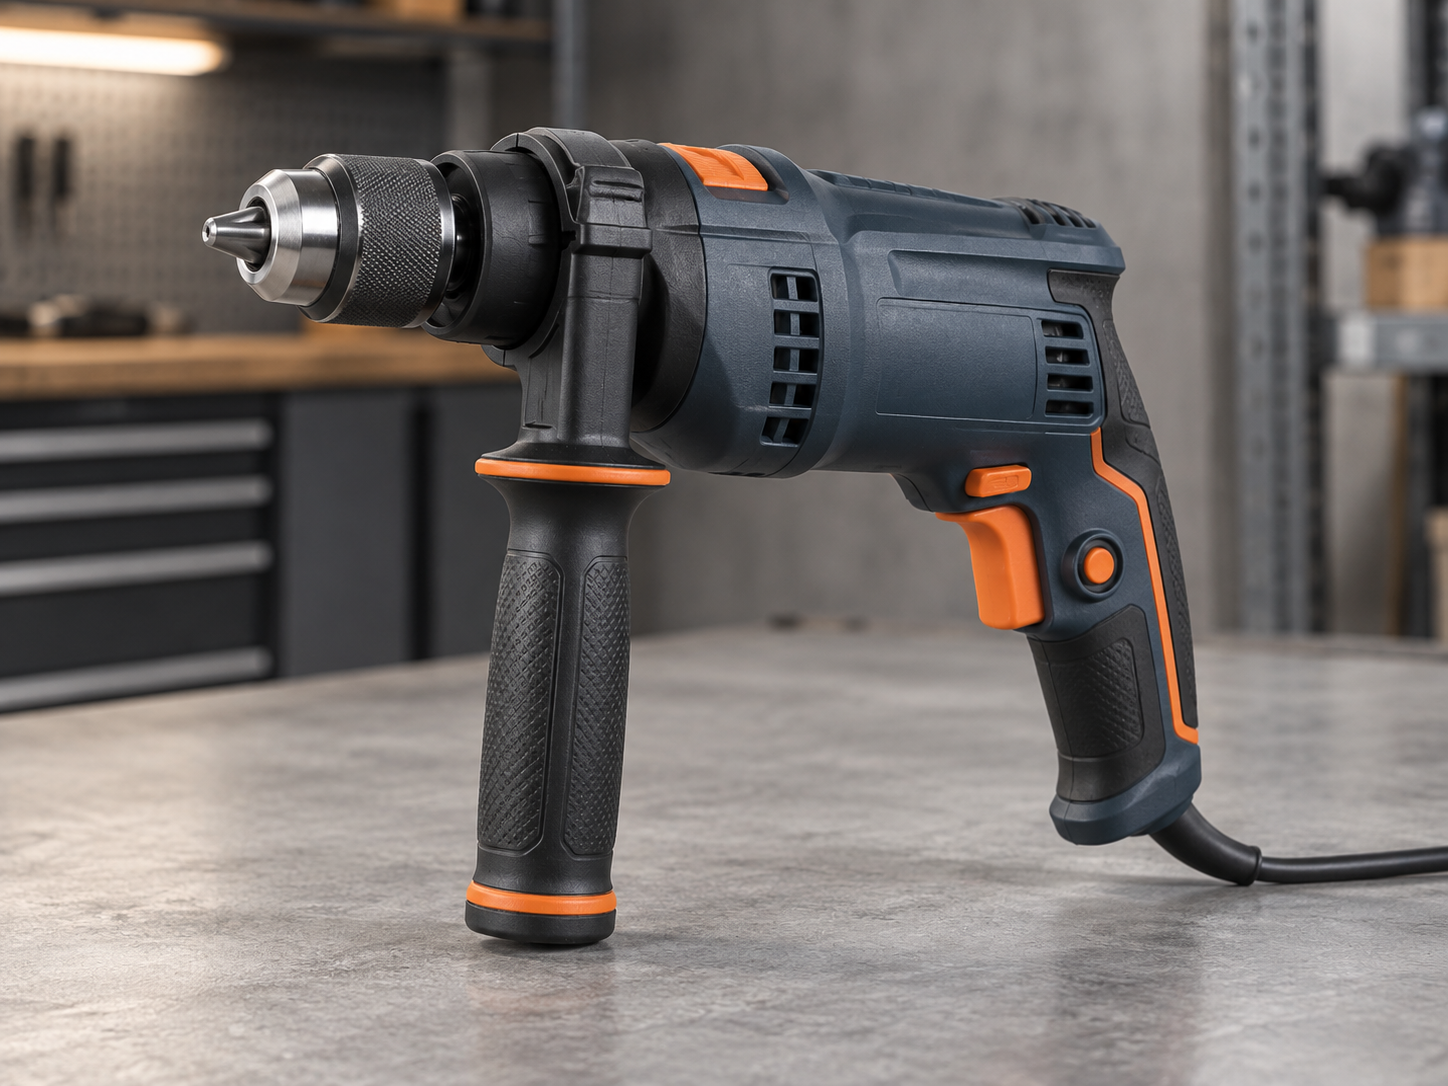
Caption: An overhead-work comparison should include grip and balance with the exact shipped configuration.
Compare balance with the production-intent battery
Do not weigh an empty tool body and call that the user load. Attach the battery that will be sold, the normal bit and any handle required for the task. Record total mass, but do not stop there. Two tools of similar mass can feel different because their mass is distributed differently around the grip. Have intended users hold each tool at the expected angle for a controlled, short demonstration while a reviewer observes wrist posture, reach and the ability to keep the bit aligned without an awkward shoulder position.
The user should not be asked to push a drill far above or away from the body simply to compensate for a poor sample. In its guidance for electrical contractors, OSHA identifies awkward tool postures, handle orientation and vibration as concerns and recommends neutral wrist positions and appropriate work platforms. A product choice can help, but it cannot replace safe access planning. An importer's article should not imply that a compact drill makes unsupported overhead work safe.
Observe where the battery sits when the tool is pointed upward. A broad pack may be comfortable when the tool rests on a bench but interfere with a wrist or cabinet edge in a tight space. A slim pack may improve access but change the expected runtime. If the product is sold with two pack options, test both and state which observations apply to which kit. The 12V versus 18V platform guide covers the wider system decision.
Review grip and control positions
Ask intended users with different hand sizes to try the grip while the tool is isolated from power. Can they reach the variable-speed trigger without squeezing the handle unnaturally? Is the forward/reverse control accessible but not easy to activate accidentally? Can the speed selector be understood while wearing the gloves recommended for the work? A soft overmould is not automatically better; fit, surface texture and durability matter.
Check reaction torque during a controlled application test. A stalled bit can twist the tool, and a compact housing does not remove that risk. Follow the tool's instructions on two-hand use, auxiliary handles, stance and bit selection. Where the end-user job includes larger holes or more resistant materials, the need for control may outweigh a small reduction in tool length. Do not recommend removing a supplied safety handle to create a sleeker retail photograph.
Test the work light and sightline. A light placed near the chuck may cast a shadow on the mark; another arrangement may illuminate the area better. Compare in a realistic upper-wall or ceiling mock-up, not only on a flat bench. Assess whether the user can see the hole position while maintaining a stable platform and correct hand placement. These details have commercial value because they affect confidence in installation preparation, even though they rarely appear in a spec table.
Evaluate a complete work cycle, not a static pose
Prepare a task board with realistic hole and fastener positions. Have operators mark, position, drill, withdraw the bit, change accessories where required and finish the fastener. Record the time and observations, but avoid a race. The aim is to see fatigue cues, tool control, awkward transitions and confusion about settings. Rotate the order of samples so the first tool is not always tested by the freshest operator.
The test should be short enough to remain safe and within tool instructions; it is not a study of medical exposure. Record the user group, tool configuration, material, bit, work height and use pattern. If the team wants to make a claim about reduced fatigue, that is a different evidentiary task requiring an appropriate method and expertise. A purchasing conclusion can simply say: “Sample A was easier for the participating installers to position at the specified height under these conditions.”
Note how bit changes affect the sequence. A keyless chuck can be convenient, but actual operation with gloves and a warm or dusty tool should be checked. If the kit includes a bit holder, magnetic sleeve or case, evaluate whether it supports safe transitions rather than leaving loose sharp accessories at height. The sample needs to represent the packed item that the distributor will sell.
Mid-article sourcing CTA: Serving installers or maintenance crews? Send the target work height, material and kit configuration to discuss a compact-drill sample review.
Translate the finding into product selection and claims
Rank the attributes that matter to your channel: application capability, head length, configured weight, balance, grip, controls, lighting, battery changes and service parts. Avoid a generic “best for overhead work” claim unless it is supported for a specified model and task. Retail copy can be helpful without overclaiming: describe the compact dimensions, battery included and intended application, then remind users to follow safe access and tool instructions.
A specialist distributor may appreciate a comparison sheet with the test setup and several model options. A general hardware retailer may need a concise decision path and clear carton contents. If the tool is intended for both, the technical data must remain consistent while the presentation changes. Product photography should show the exact battery and accessories shipped, not a smaller pack used only to make the tool look light.
If a tool's platform is expanded later, check whether the new battery or charger changes the handling observations. A shared battery system can simplify inventory, but a heavier optional pack may alter the value proposition for overhead installation. Version the product sheet so sales staff do not apply an old handling claim to a revised kit.
Plan factory and shipment checks around user-facing features
Factory testing should confirm the actual control functions, switch and reverse operation, chuck fit, battery seating, work light and any mode selector. Handle fit and surface quality matter because they are central to the buying decision. Agree an inspection method that compares the product to the approved sample without asking a production inspector to make an unstructured “comfortable” judgment on every unit.
At shipment inspection, verify the configured weight drivers: pack model, case, bit set, handle and manual. Check carton images against the contents. Confirm the instruction material clearly explains appropriate grip, work preparation and intended applications for the destination market. The ToolViron quality overview can help frame these checkpoints; it should be adapted to the exact drill and purchase order.
If vibration, noise or ergonomic performance is claimed numerically, have the method and applicable product standard reviewed for the exact model. The IEC 62841-1 general safety scope is relevant background, not proof of a particular comfort claim. Safety and health statements need more evidence than a buyer's sample impression.

Caption: Illustrative test-bench photography: a buyer should request records for the exact model.
A buyer walkthrough for ceiling-installation customers
Suppose a distributor serves electricians installing lightweight fixtures in finished rooms. Its sample task includes measuring, marking, drilling a series of pilot holes and driving fasteners from an appropriate work platform. The buyer prepares a safe mock-up at a representative working height, with the intended bit and battery. Several installers can try each candidate drill while a reviewer records setup, grip, line of sight, tool angle and accessory changes. The aim is not to make them work until fatigued; it is to expose differences that a bench test cannot show.
One sample may feel light while held still but require the wrist to bend sharply when the bit approaches the ceiling. Another may weigh slightly more yet place the grip and battery in a more neutral position. A third may have a useful work light but a reverse switch that is easy to brush accidentally. These are observations tied to a task and participants, not claims that a model prevents injury. Record the configuration and the range of feedback rather than selecting the most flattering comment.
Check the customer's actual kit storage. If installers carry batteries, bits and the drill up to the work area, a case or belt clip may matter. But a clip must be approved for the tool and safe work practice; do not add a poorly tested clip simply because it appears convenient in photographs. If the work involves repeated larger holes, the need for auxiliary grip and reaction control may dominate the compactness benefit. The sample decision should state that limit clearly.
The outcome may be a compact drill for fine overhead installation plus a separate model for higher-load drilling. Alternatively, one versatile kit may satisfy the channel if its handling and performance are both acceptable. The buyer should resist describing the lighter-looking model as “best for all overhead work.” A product page can say which installation tasks informed the selection and remind users to follow the correct work-platform and tool instructions.
What to put in the approval and inspection record
The approval file should identify the tool length, configured weight and pack, grip and switch layout, light position, chuck, bit set, handle and case. Include photographs of the work mock-up and a short description of participating users. If a supplier later changes the battery shape or housing mould, compare the revised sample with the approved handling observations. A change that leaves drilling performance intact can still affect the reason this model was selected.
At shipment inspection, check visible parts and kit contents that make the intended experience possible. A smaller battery shown in the listing but a larger one packed in the carton changes balance; a missing bit holder changes installation preparation. Verify manual and marketing copy against the exact SKU. These are concrete checks an inspector can make, unlike a subjective instruction to certify that every unit “feels ergonomic.”
Service teams should log questions about grip, mode selection and work light separately from true function faults. If many customers struggle with the same control, the importer may need better instructions or a different configuration. If a specific production lot has an unusual switch feel, traceability may identify a component change. This feedback makes the next range decision stronger while avoiding unsupported health claims.
Frequently asked questions
Is the lightest drill always best for overhead work?
No. Configured mass matters, but balance, grip, access, bit control and the actual task also matter. A very light tool that struggles with the specified material may increase the time and effort needed to finish the job.
Should a buyer test with or without the battery?
Test with the exact battery that will be supplied. A bare-tool weight can be useful for logistics, but it does not represent the user's handling experience.
Can a compact drill eliminate overhead-work fatigue?
No. Tool selection is only one factor. Task duration, posture, work platform, material and individual user differences remain important. Follow workplace guidance and do not make medical or safety guarantees from a product comparison.
What belongs in the sample record?
Record the full tool configuration, pack, bit, substrate, work height, operator group, sequence and handling observations. Keep photographs and a written decision linked to the approved sample.
Conclusion
A compact drill should be selected for overhead installation only after a realistic task trial with the exact battery, bit and accessories. Compare the complete sequence and user controls, not the bare tool's mass or peak torque alone. Honest application language and a controlled configuration help a distributor sell the product without promising that form factor can solve every workplace risk.
Send your requirements
Share your target installer, work material, height and preferred kit contents. ToolViron can help frame the drill configuration and sample questions for your programme. Send your requirements to begin.
Images illustrate product and inspection topics; they are not documentary evidence of a specific ToolViron test or customer project. Confirm the exact model and market requirements before ordering.