
A distributor can supply a capable drill and still disappoint a metal-installation customer if the included bit is not suited to stainless steel or the product guidance encourages a poor cutting method. Stainless steel is often encountered in railings, food-service fixtures, brackets and architectural trim. The challenge is not merely “more power.” Bit geometry and sharpness, controlled speed, pressure, workholding and heat management determine whether a clean hole can be made without rapidly damaging the accessory.
This article helps buyers assemble and evaluate a credible drill-and-bit offer. It is not a substitute for the exact tool, bit and material instructions or workplace safety assessment. Bosch Professional lists an HSS-Co twist drill bit designed for stainless steel and specifies its three-jaw chuck interface; that example shows why accessory material and shank compatibility belong in the same procurement brief.
Define the stainless-steel task precisely
“Drill stainless” is too broad for sample approval. Record the grade where known, thickness, surface finish, hole diameter, number of holes, drilling orientation and whether the work is in a workshop or installed in place. A thin sheet, a heavy bracket and a curved tube behave differently. A buyer should also know whether the installer needs a clean visible entry, a deburred hole for a fastener or a rough clearance hole hidden behind a fixture.
Describe the target user. A specialist fabricator may already select its own bits and cutting fluid; a maintenance retailer may need a modest starter set and clear guidance. The kit contents should support the realistic task without promising that one small bit set handles every alloy and thickness. If the drill's chuck cannot hold the proposed shanks securely, the accessory choice is not valid even if the bit material is appropriate.
Decide which metrics matter. Holes per bit, hole quality, operator control, time to complete a task and accessory replacement cost can all be relevant, but only under defined conditions. An unqualified “drills steel twice as fast” claim is difficult to defend because the reference material, bit, speed and operator are often omitted. A buyer can instead state the approved application and compatible accessories.
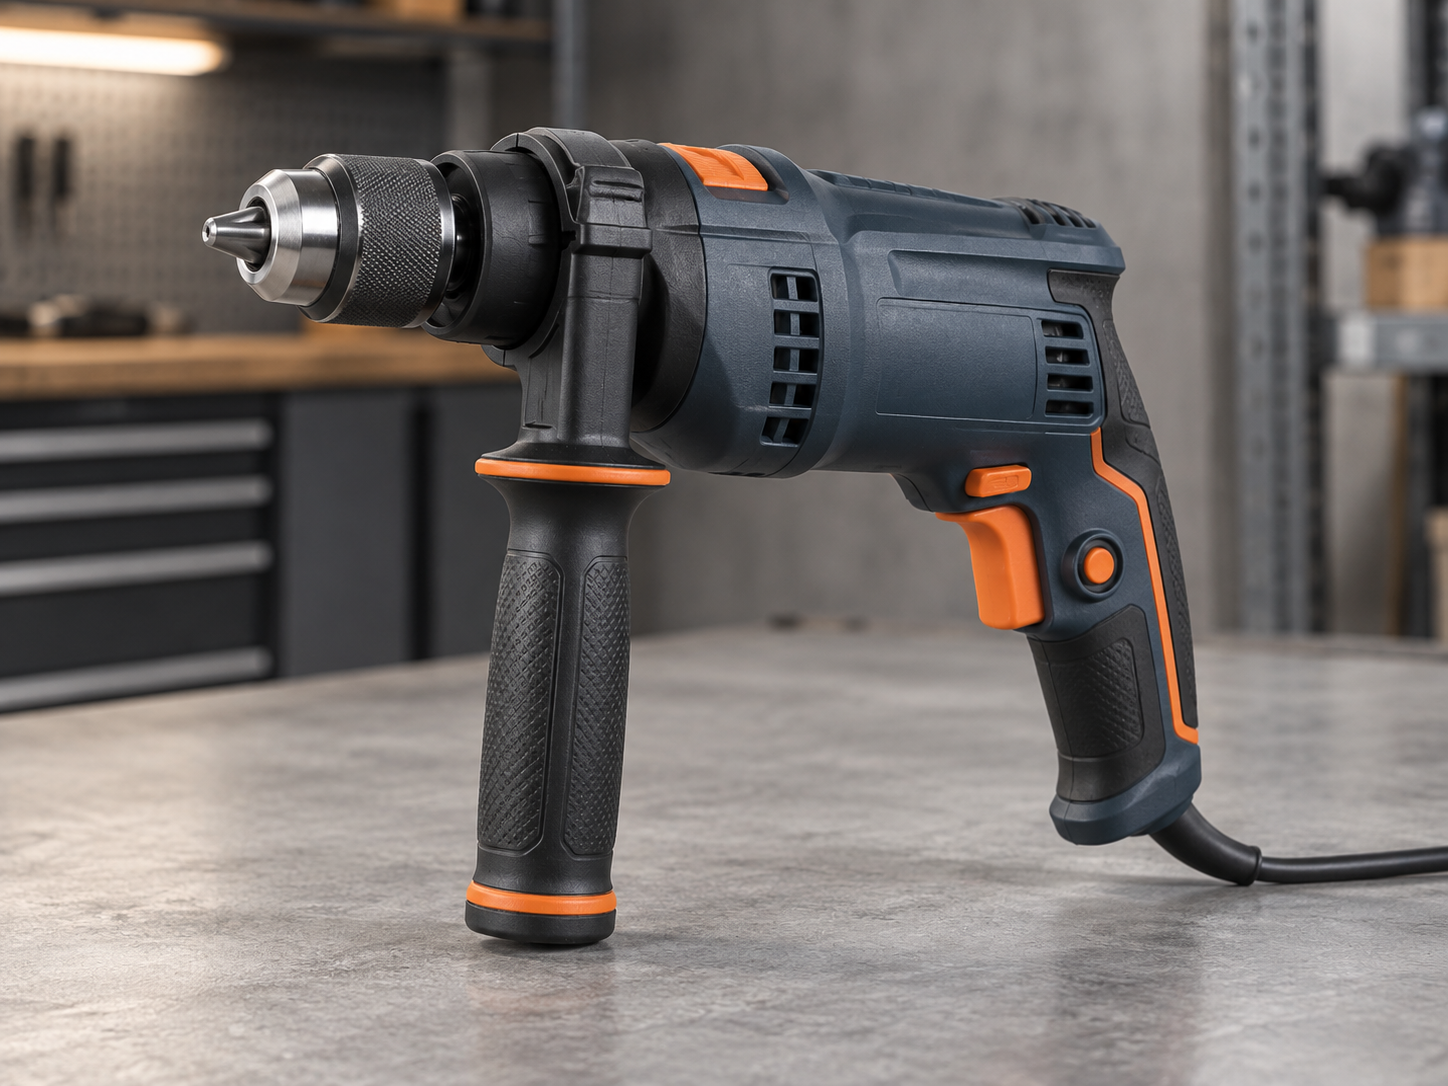
Caption: The metal coupon, bit and chuck interface are part of the same application test.
Match the bit before changing the drill
Use a bit that its maker rates for the material and diameter. A suitable HSS-Co design may be one option for stainless steel, but product quality varies with geometry, edge preparation and manufacturing consistency. Check point condition, shank form, diameter tolerance, markings and packaging. A premium coating is not a substitute for a sharp edge or correct material application.
Where the product will include bits, identify every size and material in the kit. A generic “steel bit set” may be misread as a promise for all metals. If the kit uses a cylindrical shank, verify the drill chuck grips it over the intended range. If it uses another interface, ensure the tool and adapter are approved. The drill bit and material matching guide gives a broader assortment framework.
Inspect supplied bits from several kits, not only the showroom sample. A bent or dull bit can make a good drill look weak. Check whether replacements are available to the customer at a reasonable cost. An accessory that works once in a demonstration but cannot be replenished is a weak retail proposition.
Control speed, pressure and heat in the sample test
Choose the operating method from the drill and bit manufacturers' instructions and the material supplier's advice. Starting at an unsuitable high speed can generate heat before the bit cuts effectively; too little feed may rub rather than form a chip. That can increase wear and make the material appear harder to drill. A controlled test records the selected speed range, bit diameter, feed method and any permitted lubricant rather than assuming a single setting is right for all holes.
Secure the workpiece. A rotating strip or tube can cause injury and invalidate the test. A center mark or starter method may help prevent wandering, but it should be appropriate for the surface and application. On a visible architectural finish, protect the surrounding surface and define acceptable marking. On thin sheet, support the back of the workpiece so the bit does not grab at breakthrough. The test bench should resemble the customer's real setup enough to make observations useful.
Watch the chips and bit condition. A cutting tool that produces very little chip while the surface heats may be rubbing. A bit that suddenly binds or snaps may indicate poor clamping, breakthrough control or inappropriate feed. Stop the test when the tool or accessory shows abnormal behavior; do not continue simply to reach a planned hole count. Record the reason for stopping.
The sample report should identify the number of holes made per bit, workpiece description, hole sizes, bit photos before and after, drill mode, operator and any cooling or lubrication used. Without these details, a holes-per-charge or holes-per-bit comparison is little more than an anecdote. A fair comparative test uses matched new bits and similar operator practice on each drill sample.
Distinguish tool capability from process capability
The drill must offer usable speed control, a chuck that retains the bit and enough performance for the intended task. But the drilling result is generated by a system. A tool with higher rated power can still give a poor outcome if a dull bit rubs and overheats. A compact drill may be adequate for a modest hole schedule with the right accessory and pacing. Do not rank products from wattage alone.
Compare switch control at starting speed, steadiness under the intended load, grip with gloves and the ease of releasing a stalled tool according to its instructions. If a side handle is provided or required for the accessory size, evaluate it as part of the setup. The related torque-reaction guide explains why bind-up handling deserves separate attention.
Ask whether the drill is intended for continuous workshop use or intermittent installation. Duty expectations influence a distributor's positioning and warranty assumptions. A short coupon test can validate basic suitability but cannot prove years of service life. Factory testing should be linked to agreed engineering criteria, while field complaints should be tracked separately.
Mid-article sourcing CTA: Building a drill kit for metal installers? Send the stainless-steel grade, thickness, hole sizes and expected use pattern for a sample and accessory discussion.
Build a kit that a customer can actually use
Decide whether the saleable package includes a pilot bit, replacement sizes, lubricant recommendation, case, deburring tool or none of these. Do not add accessories to make a kit look generous if they are unsuitable or undocumented. A smaller, credible set can be easier to sell and support than a large assortment with ambiguous material claims.
The product page should distinguish “drill body suitable for metal drilling with appropriate accessories” from “supplied bits suitable for stainless steel.” These are different statements. Show the actual bit sizes and shanks in photographs. Identify the compatible chuck range and the expected workpiece application. If the customer must supply a particular cutting fluid, say so through appropriate product information and safety guidance rather than hiding it behind a demo.
At shipment inspection, verify the correct bit pack, labels and instructions are inside the final carton. A substitution from one bit supplier to another can materially affect the user experience even when the drill body is unchanged. Apply change control and repeat a defined application test before accepting a new accessory source.
Diagnose failures without guessing
A “drill cannot cut stainless” complaint can have several causes: wrong bit, worn edge, high heat, poor clamping, inaccessible speed control, incorrect accessory fit or a genuine motor or chuck fault. An intake form should capture the hole diameter, material thickness, bit identity, number of prior holes, observed chips and any photos taken safely after the tool is stopped. Do not ask a customer to reproduce a dangerous stall for video evidence.
If multiple returns share a lot number or bundled bit, check that accessory first. If the same complaint occurs with several suitable fresh bits, investigate the drill and instructions. Separate wear from manufacturing defects, but do not use “user error” as a shortcut when the retail kit or manual may have set an unrealistic expectation.
The investigation should lead to an action: clearer listing, revised bit set, changed test method, different drill positioning or supplier correction. A warranty response that replaces the drill body without understanding the accessory mismatch can repeat the complaint on the next sale.
Compare a bare-tool quote with a ready-to-work kit
For an installer channel, a low drill-body price can conceal a higher total task cost. Add the suitable bit set, replacement availability, clamping or workholding needs, packaging and customer guidance to the comparison. If one quote includes stainless-rated bits and another includes only generic multipurpose bits, the products are not equivalent. Record the difference instead of forcing both into one price column.
The demonstration should use the contents actually quoted. A factory may show a premium loose bit during a visit, while the retail carton carries a cheaper set. Ask the supplier to mark the production-intent accessory in the sample report and to keep a retained set. If the quoted kit is meant for very light occasional use, say so; do not let a trade-performance video create a stronger promise than the shipped product supports.
Decide what happens after the first bit wears out
Metal-drilling accessories are consumables. A retailer needs a replenishment plan, compatible size list and clear packaging. If the customer can only buy a replacement through a long international lead time, the bundled kit may frustrate repeat users. Decide whether a standard local bit range will fit the chuck and task, and verify that claim before using it in sales copy.
Collect feedback on the type of failure. A bit that dulls gradually after a known number of holes differs from one that chips immediately on a controlled sample. A drill whose chuck slips on a clean shank differs from one whose bit cuts poorly. These distinctions help a supplier improve the right component and help the importer plan service stock. They also keep warranty decisions fair to the customer.
A buyer-facing test card
A compact test card can record six things on one page: workpiece identification, hole size and count, bit maker and part, drill model and mode, approved cutting method, and stop condition. Add photographs of the first and final hole and the bit tip. The card should be signed by the observer and stored with the sample. This does not turn a workshop trial into a certification test, but it makes the observation reproducible enough to discuss.
If the target market uses several stainless grades or thicknesses, create separate cards. Combining all results into a single “metal drilling capacity” line would erase the information a distributor actually needs. A salesperson can then tell a buyer which application has been reviewed and which remains an open question.
Keep the claim current after sourcing changes
An accessory change can alter the drilling result while the drill body and carton name remain unchanged. Before approving a new bit supplier or revised geometry, repeat the defined coupon test and compare wear, hole quality and customer guidance. Update the kit record and listing if the supported material range changes. A buyer should not keep using an old demonstration video as proof of a newly bundled set.
Frequently asked questions
Is a higher-wattage drill always better for stainless steel?
No. Bit suitability, chuck grip, speed control, workholding and a controlled cutting method are essential. Higher power cannot compensate for a worn or incompatible bit, and it may make an uncontrolled breakthrough more difficult to manage.
Should a stainless-steel drill kit always include cobalt-alloy bits?
Not necessarily. Choose accessories according to the defined material, hole sizes, price position and replacement route. If a bit is advertised for stainless steel, verify its maker's intended use and test the production-intent kit.
Why does a bit become hot without making a hole?
It may be rubbing rather than cutting because of edge condition, speed, feed, material or setup. Stop and review the method and bit rather than applying more force blindly. Use manufacturer instructions for any lubricant or cooling approach.
What should a buyer record in a sample test?
Record the drill and bit model, workpiece grade and thickness, hole diameter, operating method, workholding, holes completed, stop conditions and post-test bit and hole condition. That makes the observation reviewable when production or customer feedback differs.
Conclusion
A credible stainless-steel drilling offer combines a suitable drill, verified bit, controlled task method and honest product information. The best purchasing test explains how the hole was made and what the customer must do to repeat it. It does not turn one attractive sample hole into a universal performance promise.
Send your requirements
Share the metalworking application, hole schedule, market and desired kit contents. ToolViron can discuss the drill and accessory configuration and a realistic sample-verification plan. Send your requirements to begin.

Caption: Finished-kit inspection should confirm that the bit set tested is the bit set shipped.
Images illustrate product and inspection topics; they are not documentary evidence of a specific ToolViron test or customer project. Confirm the exact model and market requirements before ordering.