
A buyer researching angle grinder guard adjustment needs more than a feature definition. The practical decision is whether the approved guard installs and adjusts as documented, then remains secured in intended positions. This article turns that decision into a sourcing brief, sample review, production-control and shipment-inspection workflow for international distributors and private-label brands. Verify guard identity, positioning, clamp security and user instructions on production-intent angle grinders. A guard must be the correct type, remain secure and allow the documented work position; appearance alone is insufficient. The guidance is evidence-led: it explains what a buyer can verify, what needs a qualified specialist, and how to avoid turning a limited observation into an exaggerated product claim. ToolViron manufactures drills, angle grinders, electric chainsaws and electric planers in Shenzhen. The factory context in this guide explains a review method, not a claim that every listed test has been performed for every model or customer. Buyers should agree the applicable method, market requirements and acceptance criteria for the exact product before ordering.
Short answer: Review whether the approved guard installs and adjusts as documented, then remains secured in intended positions. Compare guard part number, clamp geometry, adjustment range and retention across production-intent units. Approve the product only when configuration, evidence, instructions and shipment criteria tell the same story.
Topic plan and search intent
- Blog title: Angle Grinder Guard Adjustment and Clamp Security: Buyer Checklist
- Target keywords: angle grinder guard adjustment, grinder guard clamp test, angle grinder safety guard, grinder sample inspection, portable grinder guarding, wholesale angle grinder
- Search intent: Safety-related sample and shipment review for grinder importers.
- Why it belongs in a B2B blog: A guard must be the correct type, remain secure and allow the documented work position; appearance alone is insufficient. This topic supports procurement research because it connects a customer question to a checkable product and factory decision. It also gives AI search systems a direct answer without hiding limitations or inventing customer results.
Why this question matters before a quotation
A professional buyer should separate what can be seen, what can be measured and what still needs qualified engineering or compliance review. That boundary prevents a simple receiving check from being presented as complete technical approval. The strongest review starts with the customer task and works backwards into configuration, verification, packing and support. It does not start with a marketing phrase and search for evidence afterward. The buyer should define the destination market, target user, selling channel, expected task, order quantity and after-sales promise. These details influence the configuration and useful evidence. A retail tool for occasional work and a trade-channel tool used repeatedly may need different accessories, instructions, service stock and acceptance priorities even when their housings look similar. Price comparisons become misleading when suppliers quote different configurations. Put the tool, accessories, labels, manual, packaging and market variant on one specification sheet. Record which items are fixed, optional or still open. A quotation is ready for comparison only when those open points are visible.
Define the decision boundary
The central approval question is whether the approved guard installs and adjusts as documented, then remains secured in intended positions. That is narrower and more useful than asking whether the product is good quality. It creates a boundary around the tool, accessory, task, user information and evidence being reviewed. Compare guard part number, clamp geometry, adjustment range and retention across production-intent units. Use production-intent parts wherever possible and label exceptions. If a hand-built prototype or substitute is unavoidable, record exactly what it can and cannot demonstrate. A sample that differs from the intended order may support design discussion, but it is not final production evidence. Define accept, hold and reject outcomes before work begins. Accept means the sample and record meet written criteria. Hold means evidence is incomplete or variation needs explanation. Reject means a defined requirement is not met. Each outcome needs an owner and next action. The method also needs stop conditions. Smoke, damaged insulation, abnormal control, unstable rotating parts, missing protective components or unexpected safety-related behaviour requires isolation and competent review. A sourcing test should never ask an inspector or customer to continue a hazardous task for the sake of data.
Four failure modes to include in the review
| Failure mode | Why the buyer should control it |
|---|---|
| Wrong guard packed for the wheel type | This failure mode may appear only after repeated handling, transport or customer setup. Include it in the sample plan and after-sales intake so early reports can be compared with the reference. |
| Clamp is loose or over-tightened | A photograph alone rarely establishes the cause. Combine visible condition with part identity, instructions, task information and traceability before requesting corrective action. |
| Guard interferes with handle or task position | When an issue touches a protective feature, electrical system or high-speed component, stop ordinary use and route the item to competent review. Commercial urgency is not a reason to improvise. |
| User information depicts operation without the approved guard | If this is not separated from other variables, a buyer may approve the wrong configuration or reject a sound one. Identify the physical evidence, affected units and the next qualified decision owner. |
| Record what counts as acceptable, suspect and reject condition before samples arrive. The table is a starting risk register, not a claim that every possible failure has been listed. |
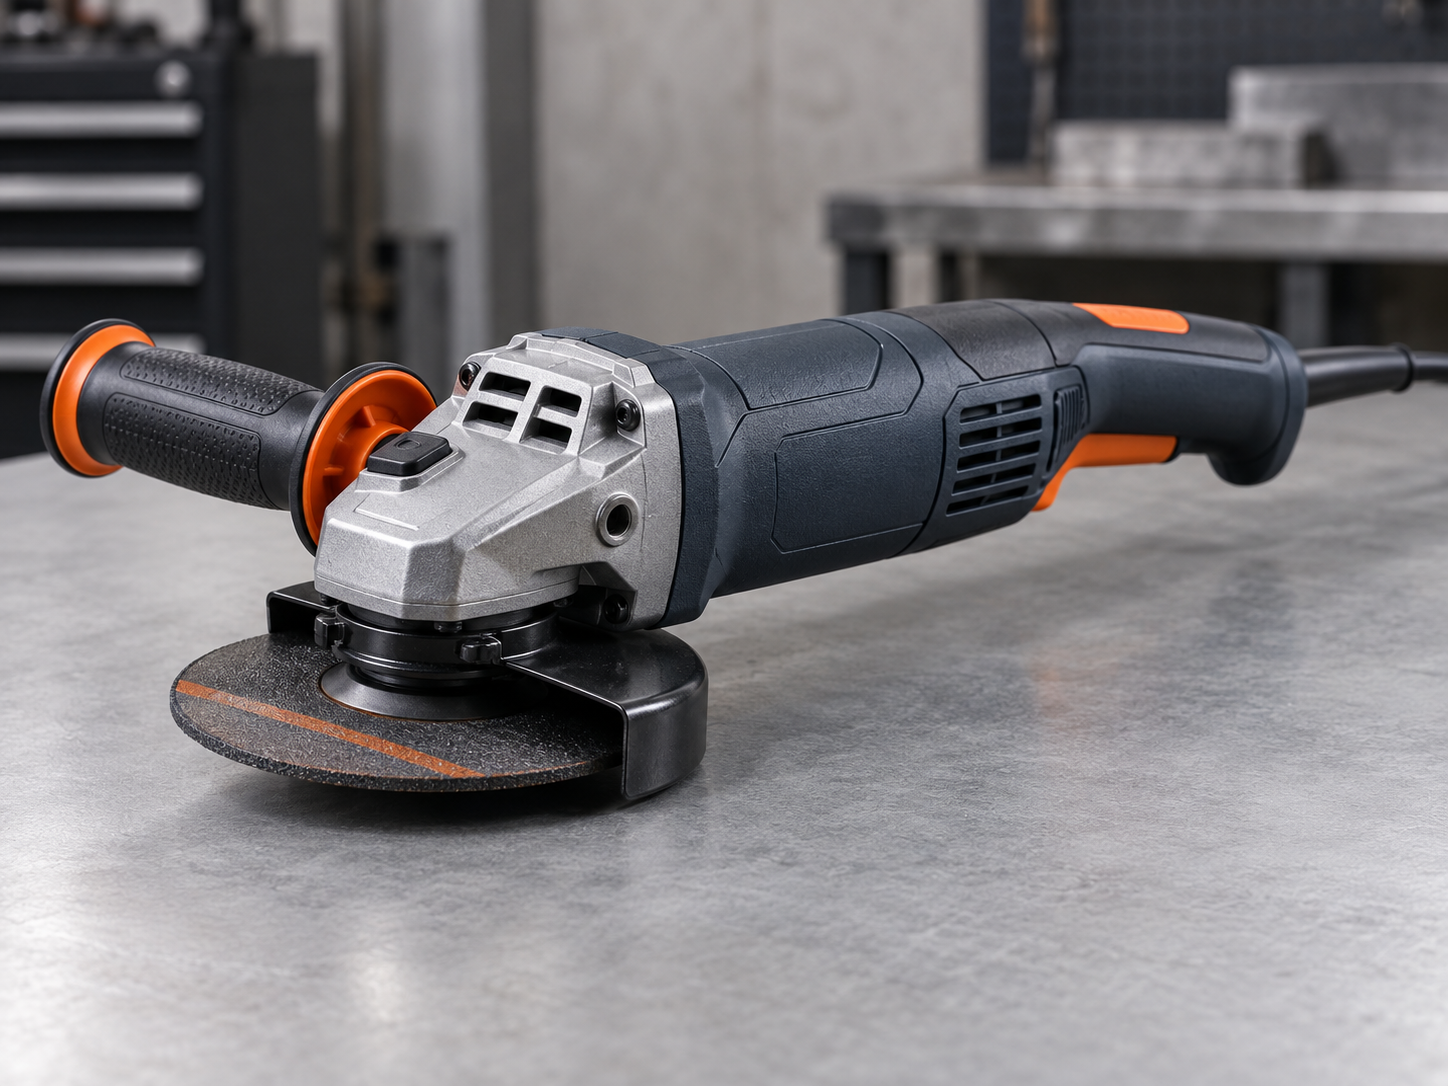 Angle Grinder Guard Adjustment and Clamp Security: Buyer Checklist: review the exact production-intent configuration before turning a feature into a claim.
Build an evidence pack another team can use
An evidence pack should be concise enough to use and complete enough to support a later decision. The goal is not to collect hundreds of unrelated photographs. It is to connect the approved configuration, method, result and disposition in a form that remains clear after staff change or a new shipment arrives.
- Guard and clamp part identification: Treat this as decision evidence rather than background paperwork. It should be dated, linked to the sample or lot and understandable to someone who did not attend the original factory discussion.
- Permitted positions from product documentation: This evidence helps separate a product cause from an accessory, setup, transport or documentation cause. If it is missing, record the uncertainty instead of forcing a confident conclusion.
- Pre/post adjustment record: Keep this evidence with the approval record and make it available to shipment inspection and after-sales teams. A value kept only in a private worksheet does not control the delivered product.
- Shipment sample results: This item anchors the review to the saleable product. Record it before work starts, keep its revision visible and do not replace it silently with a convenient equivalent during a demonstration.
Include the approved sample identity, date, people involved and any deviation from the plan. Where measurements are used, identify the equipment and its status. Where the result is visual or functional, provide a reference that reduces subjective interpretation. Keep confidential drawings and personal information out of public marketing unless disclosure is authorized.
Mid-article sourcing CTA — Send Your Requirements: Share the destination market, application, target quantity and exact decision the sample must answer. ToolViron can prepare a configuration discussion around the product and inspection evidence. Send your requirements.
A practical sample-verification workflow
The following workflow is a starting point for a buyer and supplier to tailor. It is not a substitute for a model-specific manual, qualified laboratory, local compliance advice or competent risk assessment.
Step 1: Confirm the guard type for the intended accessory.
Link any failure to containment, supplier review and a defined disposition. Repeating the same step without understanding the cause does not create stronger evidence.
Step 2: Inspect clamp and locating features while isolated.
Record who performed the step, which sample was used and what reference defined acceptance. If the condition is unsafe or unclear, stop and escalate rather than finishing the sequence for appearance.
Step 3: Install and adjust only by the documented method.
Use the final or production-intent configuration. A substitute accessory, hand-built part or outdated instruction may answer a different question from the one the customer will face.
Step 4: Check handle, switch and accessory clearance.
Photograph or record the result so another reviewer can understand it. Avoid selective evidence that shows the best unit but hides variation between samples.
Step 5: Apply the agreed non-operating retention check.
Keep the method within the competence of the people involved. Electrical, rotating, safety-related or destructive checks belong with qualified personnel and controlled equipment.
Step 6: Reject substitutions until compatibility is re-evaluated.
Compare the outcome with the written requirement, not with memory. When the requirement is ambiguous, close the specification gap before deciding that the product passed.
Rehearse the sequence on a pilot or reference unit before making it a shipment check. This confirms the criterion is understandable, the equipment is available and the task can be performed safely within the inspection time. If a result depends heavily on judgement, add a physical reference or clearer disposition rule.
Interpret results without overclaiming
A pass applies to the sample, configuration, method and acceptance rule documented. It does not automatically prove every future unit, accessory or customer application. Production controls and shipment inspection are the bridge between development evidence and a delivered order.
Variation deserves attention even when the average looks acceptable. One abnormal unit may reveal mixed parts, assembly damage or an early process shift. Record individual results and investigate outliers instead of averaging them away. Conversely, a poor result caused by the wrong accessory or setup should not automatically be labelled a motor or factory defect.
Separate occurrence from detection. The occurrence cause explains why an issue was created; the escape cause explains why controls did not stop it. A useful supplier action addresses both. Adding another final inspection may catch more defects but does not necessarily correct the creating process.
The claim boundary for this topic is explicit: Never market guard removal as a convenience; claims and images should show the approved guarded configuration and appropriate application. This wording protects the buyer from a promise broader than the evidence and gives sales teams a meaningful statement they can explain.
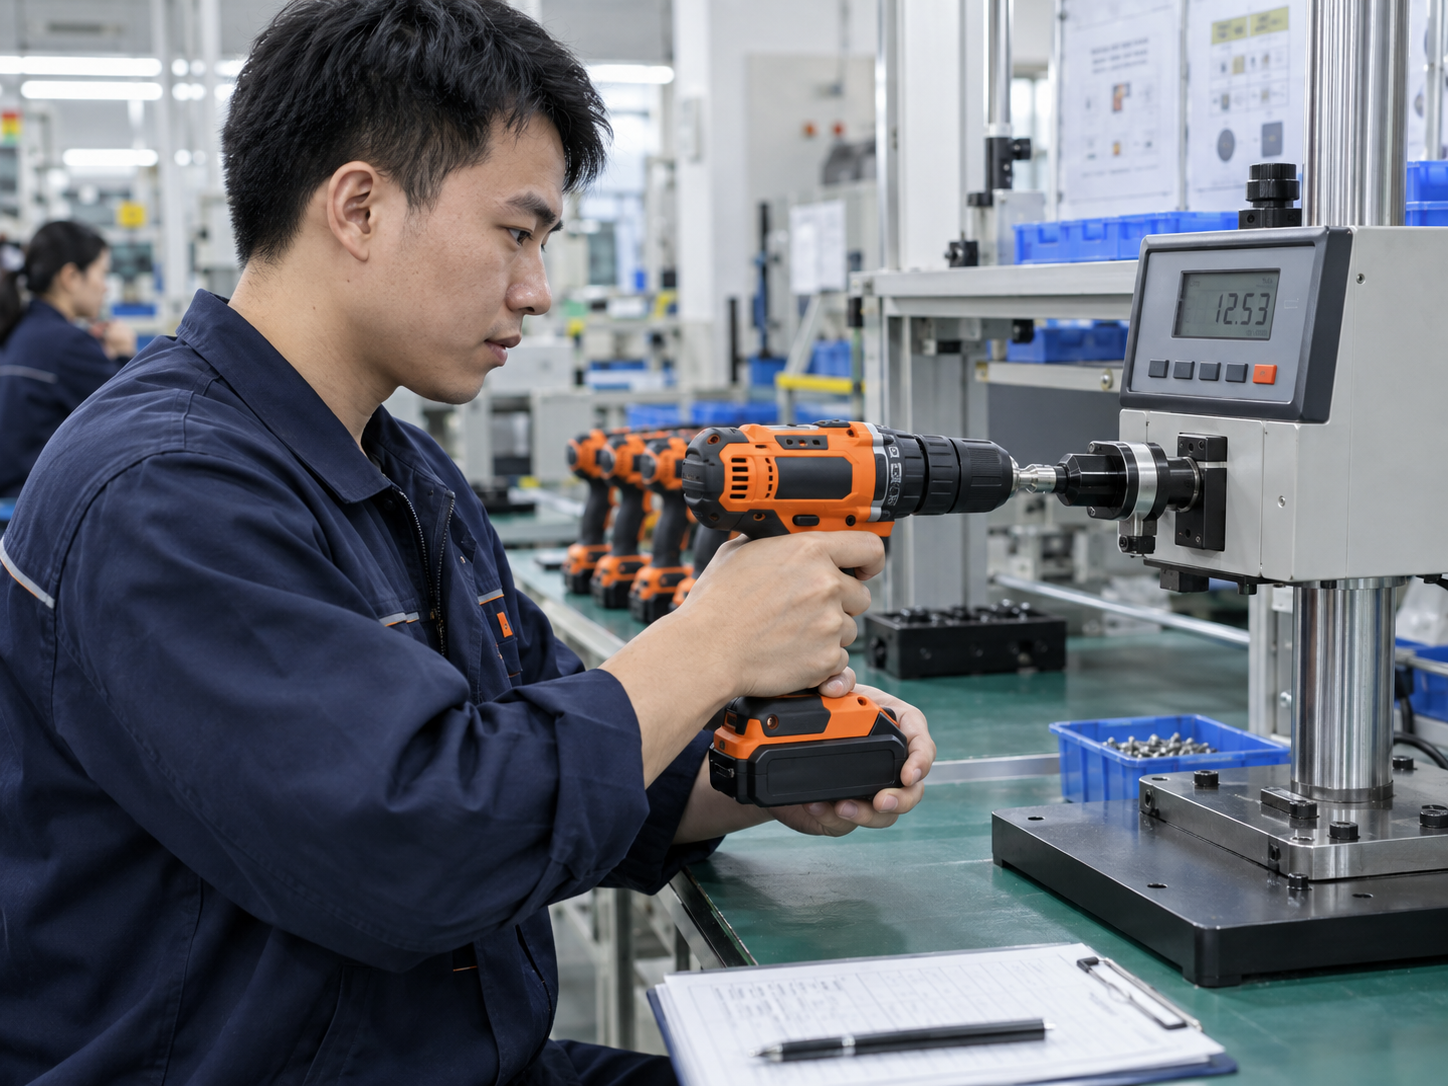 Angle Grinder Guard Adjustment and Clamp Security: Buyer Checklist: document the factory, service or shipment check against an approved reference.
Production control and shipment inspection
After sample approval, convert important decisions into production documents. The bill of materials should identify controlled parts and regional variants. Work instructions should capture assembly or setup points that affect the result. The inspection plan should name the characteristic, method, sample scope, acceptance rule and reaction to failure. Do not assume the first mass-production order will match a development sample automatically. Use a pilot production run to confirm line instructions, parts, artwork, accessories and packing. Review units from different times or cartons instead of accepting a staged best sample.
Shipment point 1: Approved guard and clamp are present
Record both conformity and the limitation of the check. Pre-shipment inspection confirms selected characteristics at one point in time; it does not replace design validation or compliance work. In this programme, confirm that approved guard and clamp are present before goods are released.
Shipment point 2: Guard is undamaged and can be secured
Put this point on the approved inspection checklist with the exact model or regional SKU. The inspector needs a reference photograph, part identity or measurable criterion, not only the word check. In this programme, confirm that guard is undamaged and can be secured before goods are released.
Shipment point 3: Manual and product images show the correct arrangement
Sample across the shipment according to the agreed plan and preserve carton or lot traceability. If one failure suggests mixing or substitution, expand containment before release. In this programme, confirm that manual and product images show the correct arrangement before goods are released.
If a shipment point fails, identify affected cartons and lots before rework or release. Reinspection should verify the correction and should not erase the original nonconformity. That history becomes useful when the same symptom appears in warranty data.
Factory testing, installation preparation and customer requirements
Factory testing should be relevant to the configured model and intended application. One hundred percent tested is not a complete description: ask what is checked on every unit, what is sampled, what equipment is used and what happens after a failure. The answers should align with product risk and market promises. Installation preparation means more than putting accessories in the box. Confirm that a customer can identify the correct parts, follow current instructions and reach support without factory coaching. Ask someone unfamiliar with the project to use the final carton and manual in a non-operating review. Their questions often reveal missing labels, unclear diagrams or optional items presented as included. Customer requirements should remain visible from RFQ through shipment. A regional plug, language, accessory or carton change can affect evidence collected on another SKU. Use change control when a supplier, material, component, firmware, instruction or pack is revised, and decide whether original approval still applies.
After-sales feedback and corrective action
Give support teams a structured intake form for this topic. At minimum record model and serial or lot, supplied and installed accessories, task, timing of the symptom, visible condition and stop-use advice. Do not ask a customer to recreate an event that may be hazardous. Returned units should be examined through a qualified route. Preserve as-received condition before disassembly, distinguish wear from damage and compare the product with the approved bill of materials. A replacement can resolve the customer case while the technical cause remains open, so keep customer resolution and corrective action as related but separate records. Trend failure codes rather than free-text phrases alone. Does not work, too hot or bad quality cannot reveal a batch pattern. A small, consistent code set linked to lots, markets and configurations helps the buyer decide whether to update instructions, hold stock, change a part or request an 8D response.
Use authoritative sources with the right scope
OSHA guarding of portable powered tools provides authoritative context relevant to this topic. It does not certify a ToolViron model or replace destination-market requirements. Use the exact product manual, applicable standards, qualified laboratories and local advisers for compliance or safety decisions. For more context, read Review angle grinder safety during product selection and review the relevant ToolViron product or manufacturing page. These internal links connect the specific question with its wider product, sourcing and factory-control cluster.
Frequently asked questions
Can one guard be used for every grinder wheel?
No. Guard selection depends on the tool, wheel type, size and manufacturer instructions. A similar diameter does not prove compatibility. If the observed product differs from the approved configuration, pause the conclusion and ask the supplier or a qualified specialist to review the exact unit.
Should the guard rotate freely after clamping?
It should behave exactly as the approved design and instructions require. Unintended movement or inability to secure it needs containment and review. If the observed product differs from the approved configuration, pause the conclusion and ask the supplier or a qualified specialist to review the exact unit.
What should product photography show?
Show the intended accessory, correct guard, side handle and realistic work position. Do not normalize an unguarded configuration for visual simplicity. If the observed product differs from the approved configuration, pause the conclusion and ask the supplier or a qualified specialist to review the exact unit.
Can shipment inspection test every guard?
Inspection scope should follow the agreed sampling plan and risk. At minimum verify identity, condition, inclusion and defined functional points against approval. If the observed product differs from the approved configuration, pause the conclusion and ask the supplier or a qualified specialist to review the exact unit.
Conclusion
Angle Grinder Guard Adjustment and Clamp Security: Buyer Checklist is best treated as a controlled buying decision: define whether the approved guard installs and adjusts as documented, then remains secured in intended positions, compare guard part number, clamp geometry, adjustment range and retention across production-intent units, and preserve evidence that can travel from sample approval to production, shipment inspection and after-sales review. The result should be a clear specification, proportionate verification method and honest market claim. When evidence is incomplete, record the limit and ask for qualified review. That discipline is more credible than a broad promise and more useful to international buyers building a durable power-tool range.
End-of-article CTA — Get a Quote: Send ToolViron your application, market, target quantity, configuration and inspection priorities. We will use them to structure the next product discussion. Get a quote from ToolViron.
Images illustrate product and inspection topics; they are not documentary evidence of a specific ToolViron test or customer project. Confirm the exact model and market requirements before ordering.